Anduril 1: Configure Ramp Ceiling (Maximum) Brightness
This page refers to features of Anduril 1.
You may be looking for the Anduril 2 manual or Check if you're running Anduril 1 or 2.
Enable the ramp you’d like to configure
To start, make sure you’ve enabled the ramp you’d like to configure: smooth or stepped.
When the light is on in Ramping Mode, you can toggle between the ramps
with: 3C.
Set ceiling to the maximum brightness
- While still in Ramping Mode, enter:
4C. - You’re now in Ramp Config Mode
- After the 1st blink, the light will begin a buzz (flash flickering), which signals that the light is ready to accept your input.
- Wait for the buzz to stop.
- The light will blink twice and buzz again.
- While it’s buzzing, enter:
1C. - The light will continue buzzing, and if you’re configuring the stepped ramp and continue to the 3rd configuration option. You can just let it go through them without clicking any more times. When it’s done with all the options, the light will return to Ramping Mode with a steady light.
Good work, you’ve configured your Anduril light’s Ramping Mode’s ceiling to use the maximum brightness. Shine on you crazy diamond!
Set ceiling to another brightness
If you’d like your ceiling to be a little less bright, instead of 1C as the
input above, you can click to set the level you’d like for your ramp:
| Clicks | 1 | 2 | 3 | … | 150 |
|---|---|---|---|---|---|
| Ceiling Level | 150/150 | 149/150 | 148/150 | … | 1/150 |
The default floor level in Anduril 1 is 120/150 (31C).
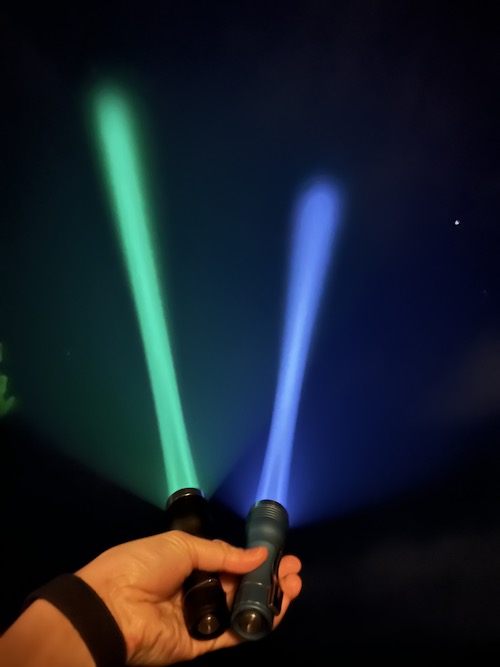
 Noctigon KR1, shining up to the ceiling of the night sky